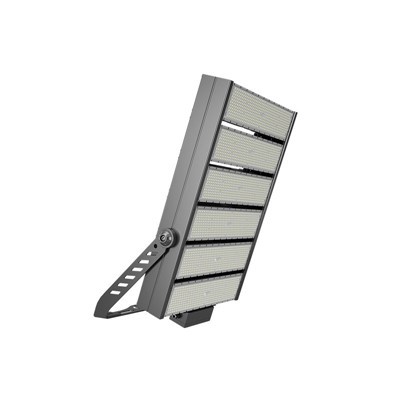

Firstly, foundation pouring determine the position of the standing lamp; reserve (excavate) a standard foundation pit at the position of the standing lamp; the pouring concrete of the foundation pit should be able to carry 1.5 times of the light pole, and the light pole shall be placed in a cage with embedded parts. The embedded part is placed in the center of the square pit, one end of the PVC threading pipe is placed in the middle of the embedded part, and the other end is placed in the storage area of the battery. Pay attention to keeping the embedded parts, the foundation and the original ground on the same level (or the top of the screw is on the same level as the original ground, depending on site needs), and one side must be parallel to the road; this will ensure that the light pole is erected and the rear end is straight Not skewed. Then use not less than C20 concrete to pour and fix. After the construction is completed, promptly clean up the remaining mud on the positioning plate, and clean the impurities on the bolts with waste oil.
Secondly, solar cell module installation Before connecting the output positive and negative poles of the solar cell panel to the controller, measures must be taken to avoid short-circuiting; the solar cell module and the bracket must be firmly and reliably connected; the output wire of the module should be avoided exposed and fastened with a tie; The orientation of the battery pack should face due south, subject to the compass pointing.
Then install the battery when the battery is placed in the control box, it must be handled with care to prevent damage to the control box; the connection line between the batteries must be bolted to the battery terminal and copper gaskets should be used to enhance the conductivity; the output line It is forbidden to short-circuit under any circumstances after connecting to the battery to avoid damage to the battery; the output wire of the battery must be connected to the controller in the pole through a PVC pipe; after the completion of the above, check the wiring of the controller to prevent short circuit. Close the door of the control box after normal.
Last lamp installation fix the components of each part: fix the solar panel on the solar panel bracket, fix the lamp head to the arm, then fix the bracket and the arm to the main pole, and pass the connecting wire to the control box (battery box). Then in the simple debugging system, whether it is working properly; loosen the solar panel connection line on the controller, and the light source works; connect the solar panel connection line and the light is off; at the same time, carefully observe the changes of the indicators on the controller; everything is normal, then Lift and install, and put the battery into the battery box. Check whether the system is working properly; loosen the solar panel connection line on the controller, the light is on; at the same time, connect the solar panel connection line, the light is off, and then carefully observe the changes of the indicators on the controller; everything is normal, then the control box can be sealed.